|
|
PEARLPaleoecologicalEnvironmentalAssessment andResearchLaboratory |

|
|
|
PEARLPaleoecologicalEnvironmentalAssessment andResearchLaboratory |
|
Instructions for using the Maxi-Glew gravity corer PDF Format
First things first. Learn to tie off the corer so you can't loose it at the bottom of the lake. See:
Line Attachment Procedures for Glew Gravity Corers
Prepared by Jon Sweetman
Checklist of equipment and tool kit contents
| Gravity corer | Nut Drivers |
| Line and weighted messenger | Slotted screwdriver |
| Core tubes | Markers |
| Core plugs | Electrical tape |
| Core caps | Measuring tape |
| Spare ring seal | Lab tape for labels |
| Spare hose clamps | Appropriate clothing for sun protection |
| Tygon tubing | Personal flotation devices |
| Vaseline | Extruder equipment |
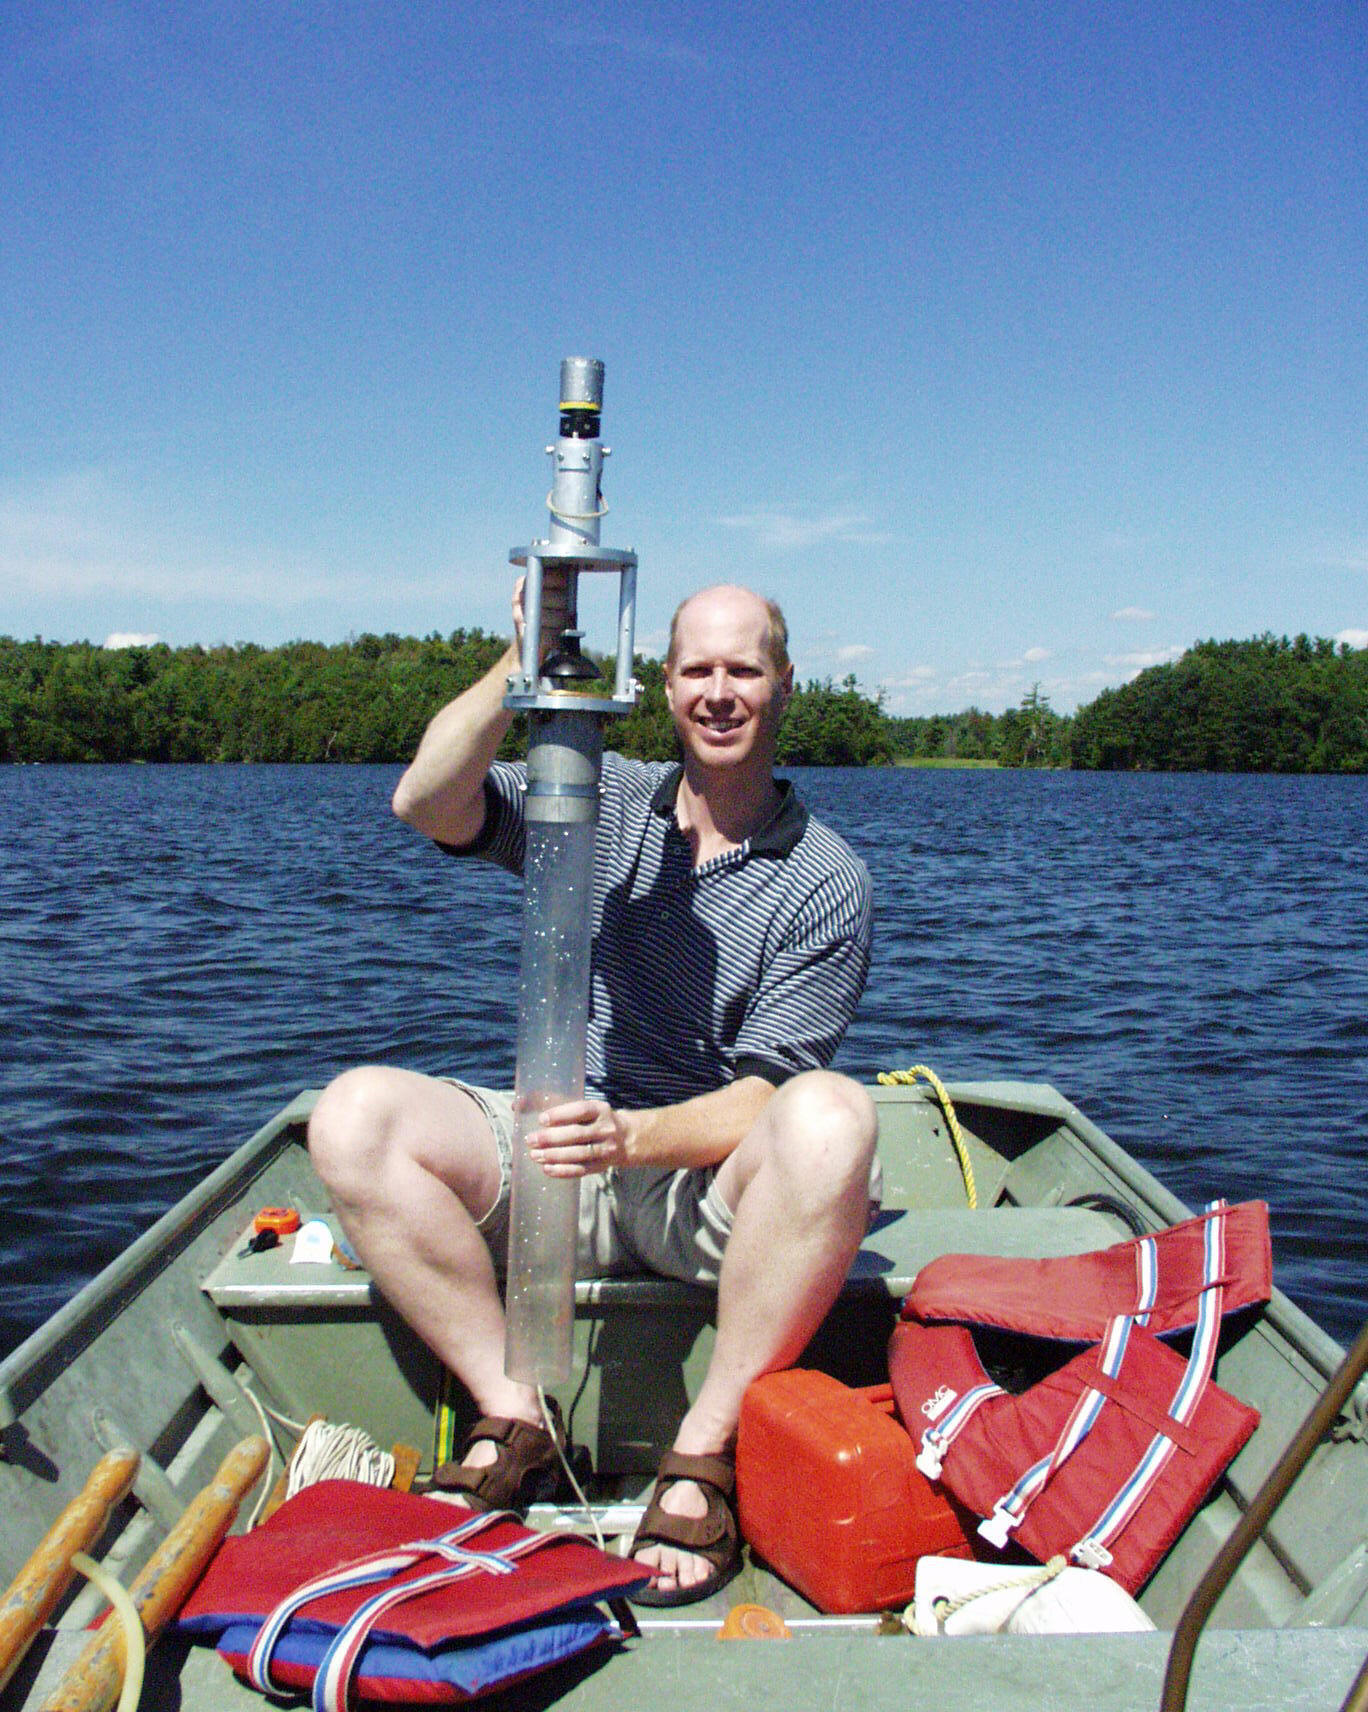
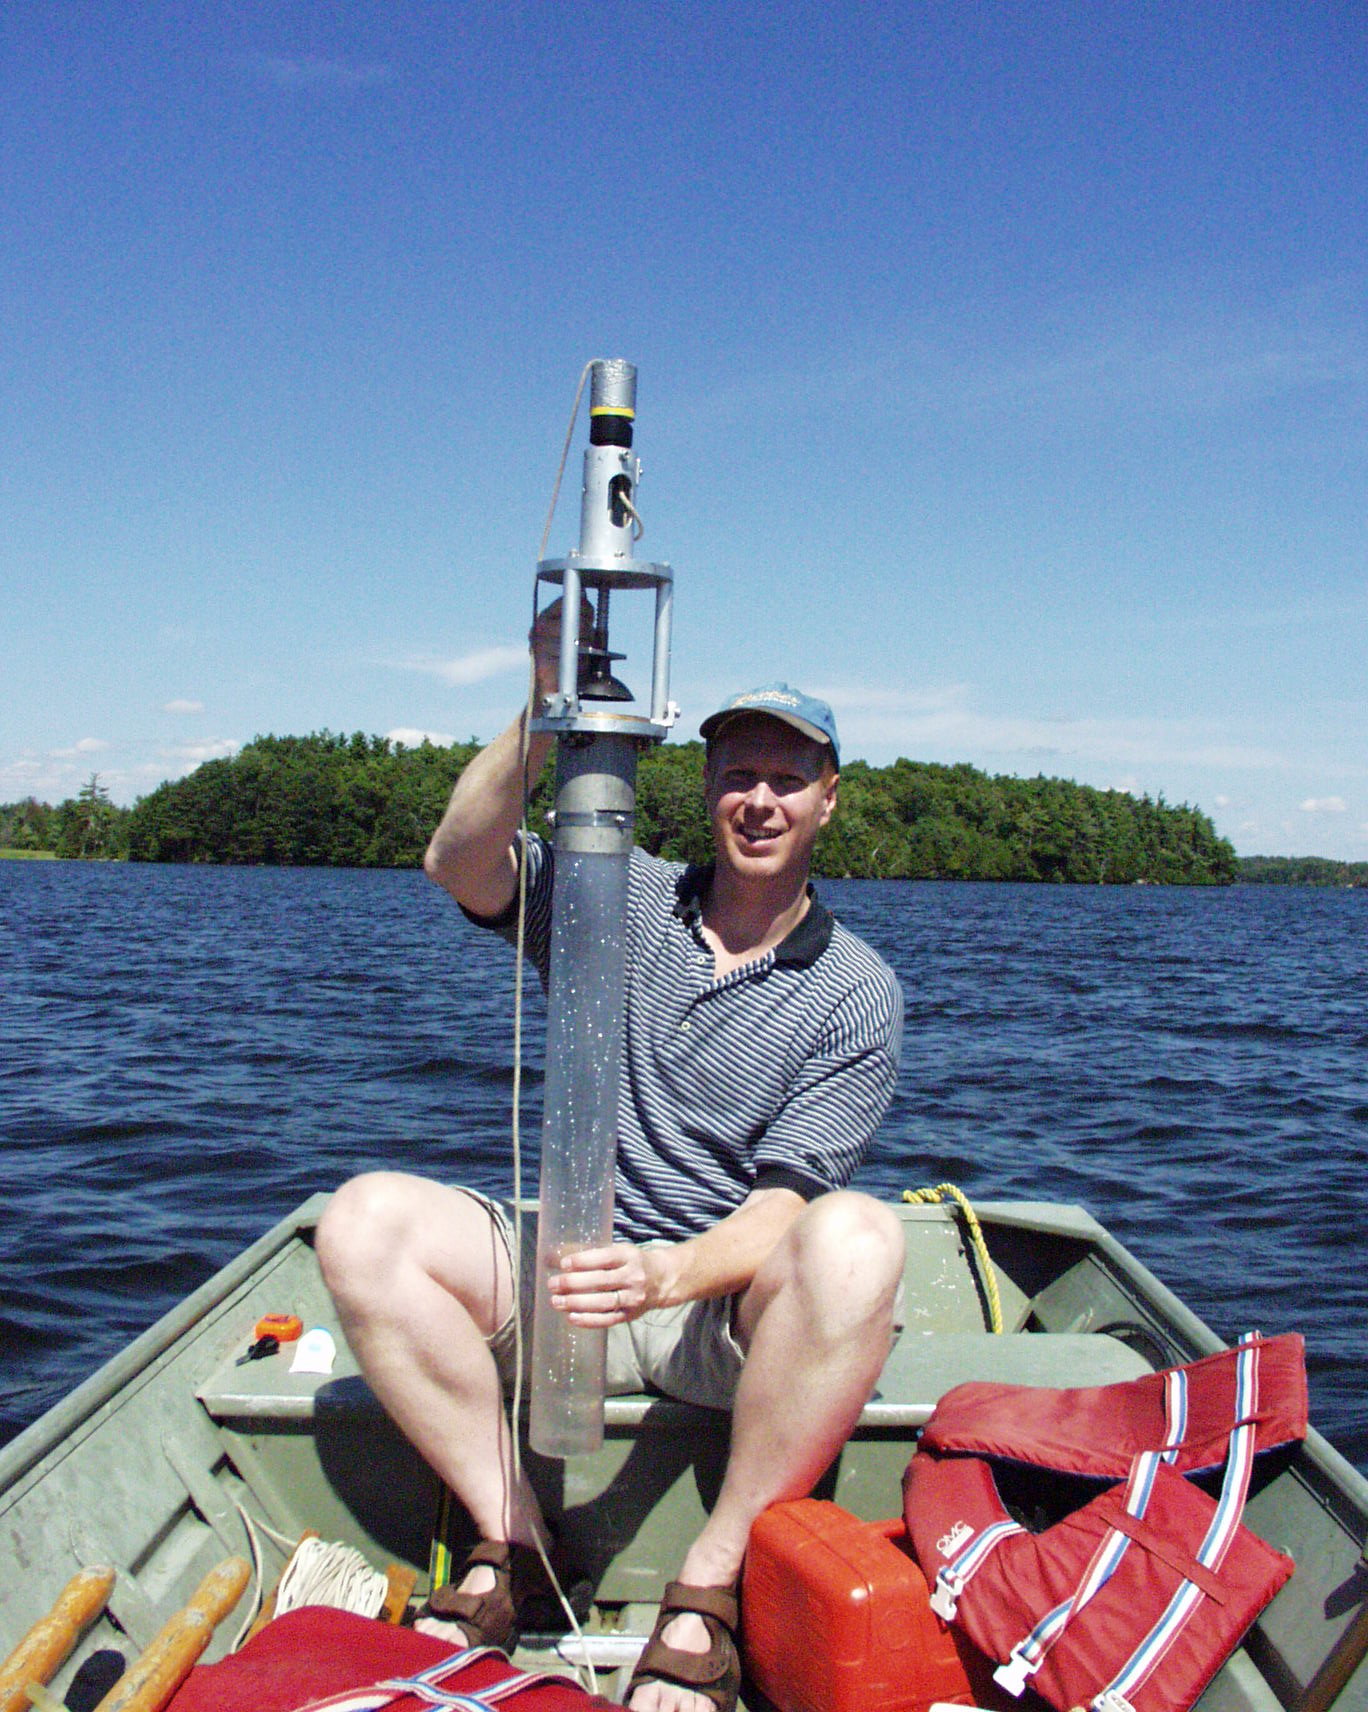
Step 1: Corer Preparation
Ensure the top of the core tube (flat end,
not tapered end) and the area where the plunger and corer housing meet have been
sealed with Vaseline (this typically only needs to be done once per coring day,
unless corer is not sealing correctly).

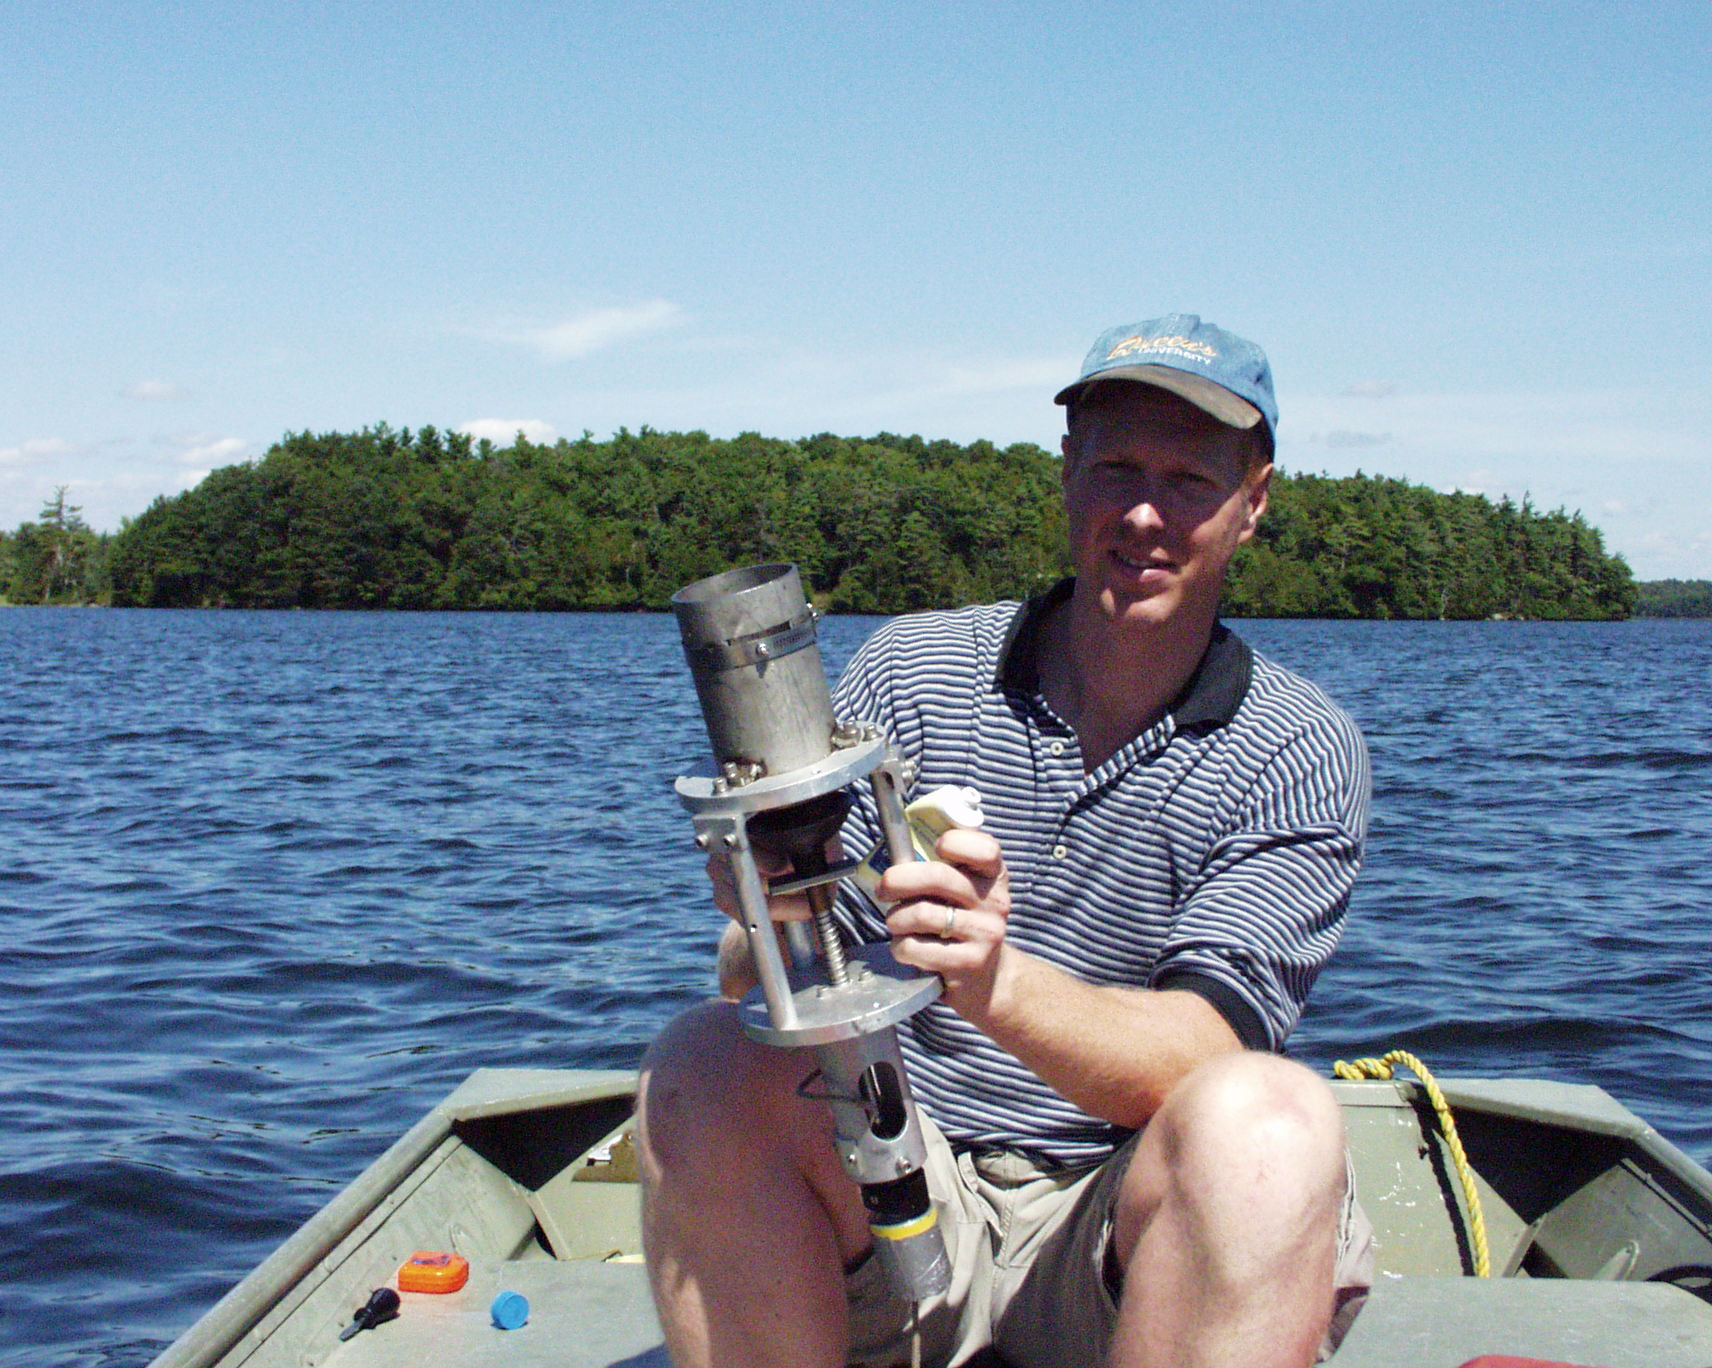
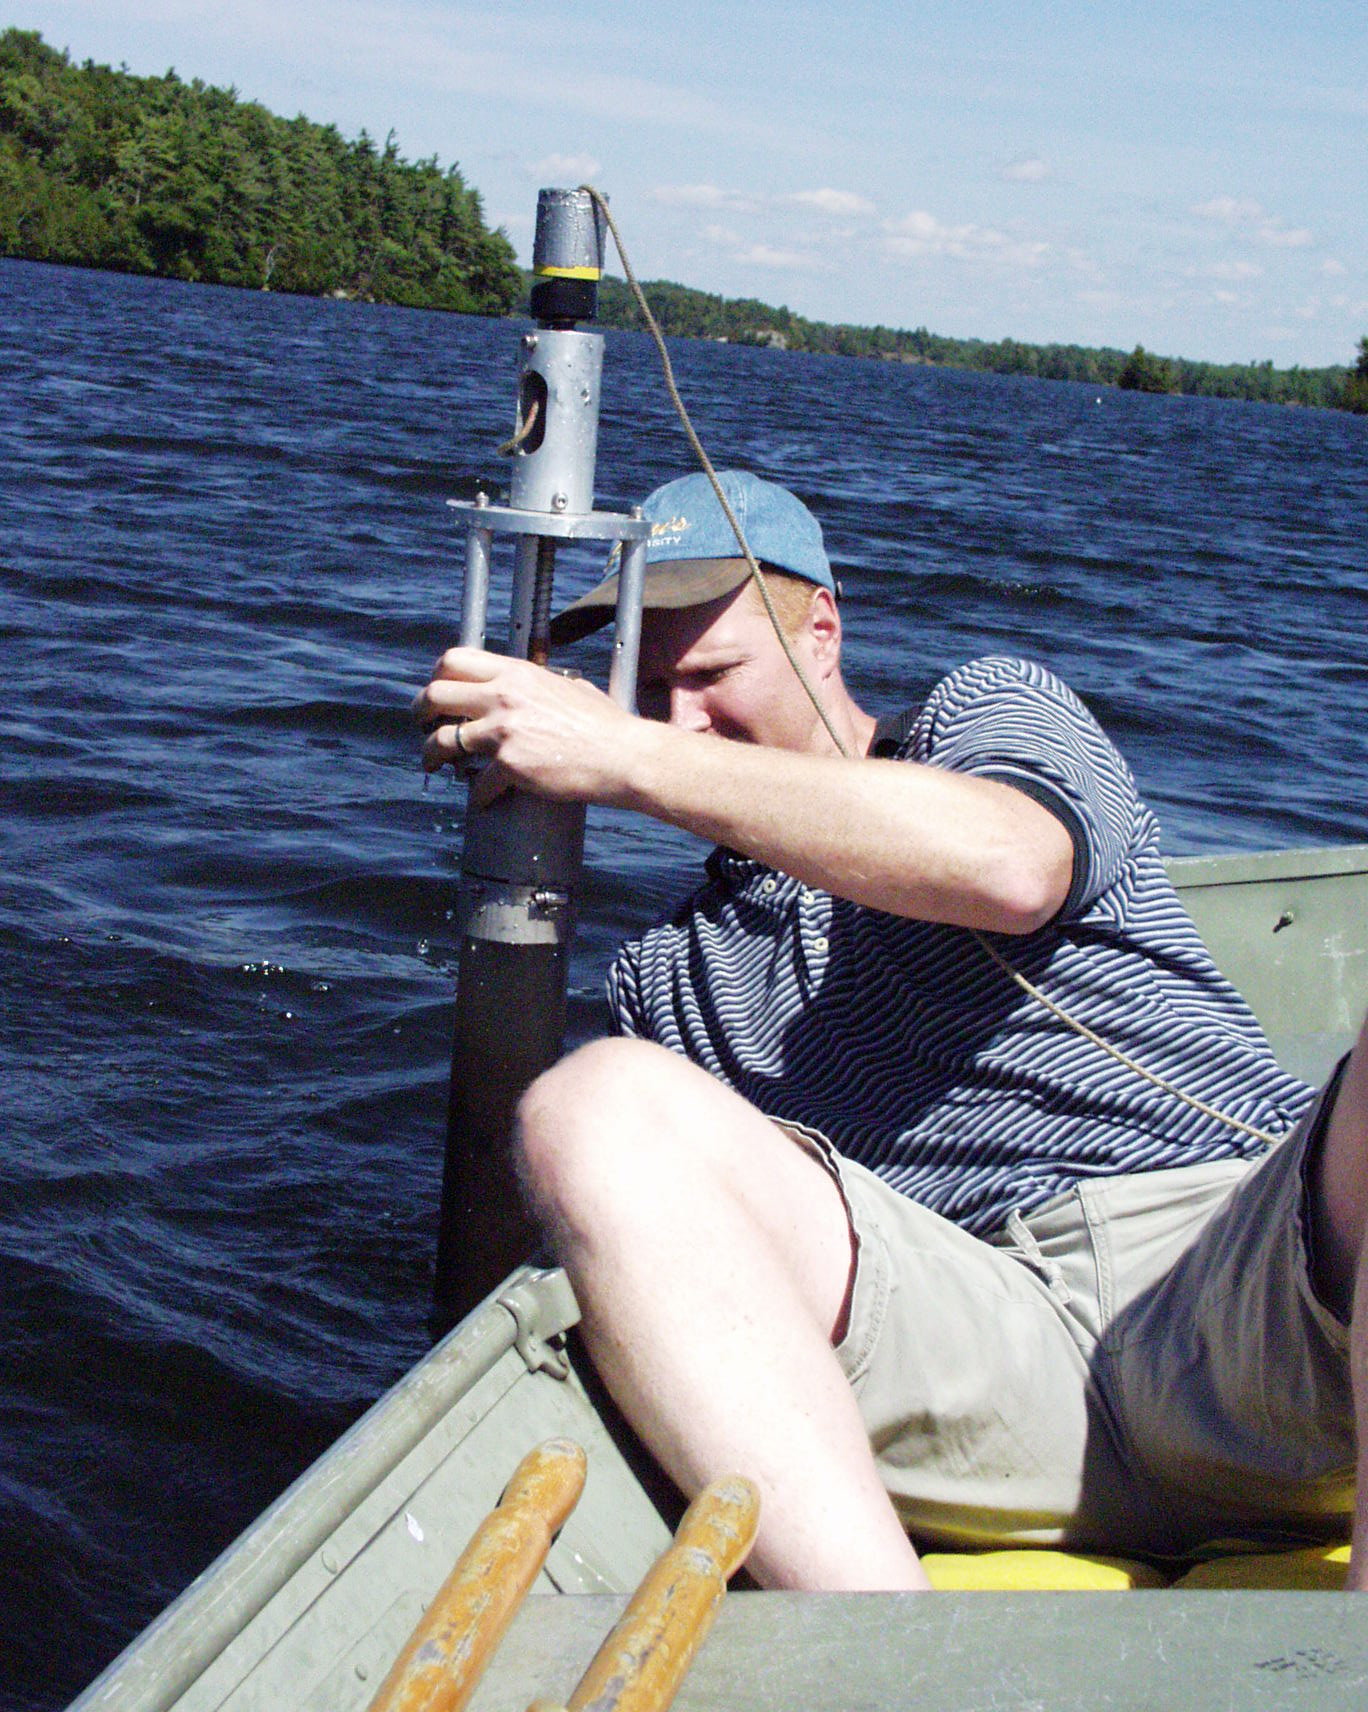
Attach core tube to corer. Make sure flat end of corer is square against ring seal. Tighten hose clamp on tube housing using nut driver, do not over tighten. Core tube should not move within the housing.
Make sure plug fits securely in bottom of core tube.
Note: additional weights may be added to core tube if needed e.g., if sediments are fairly dense). However, this tends to make corer more top-heavy and likely to fall over on its side.
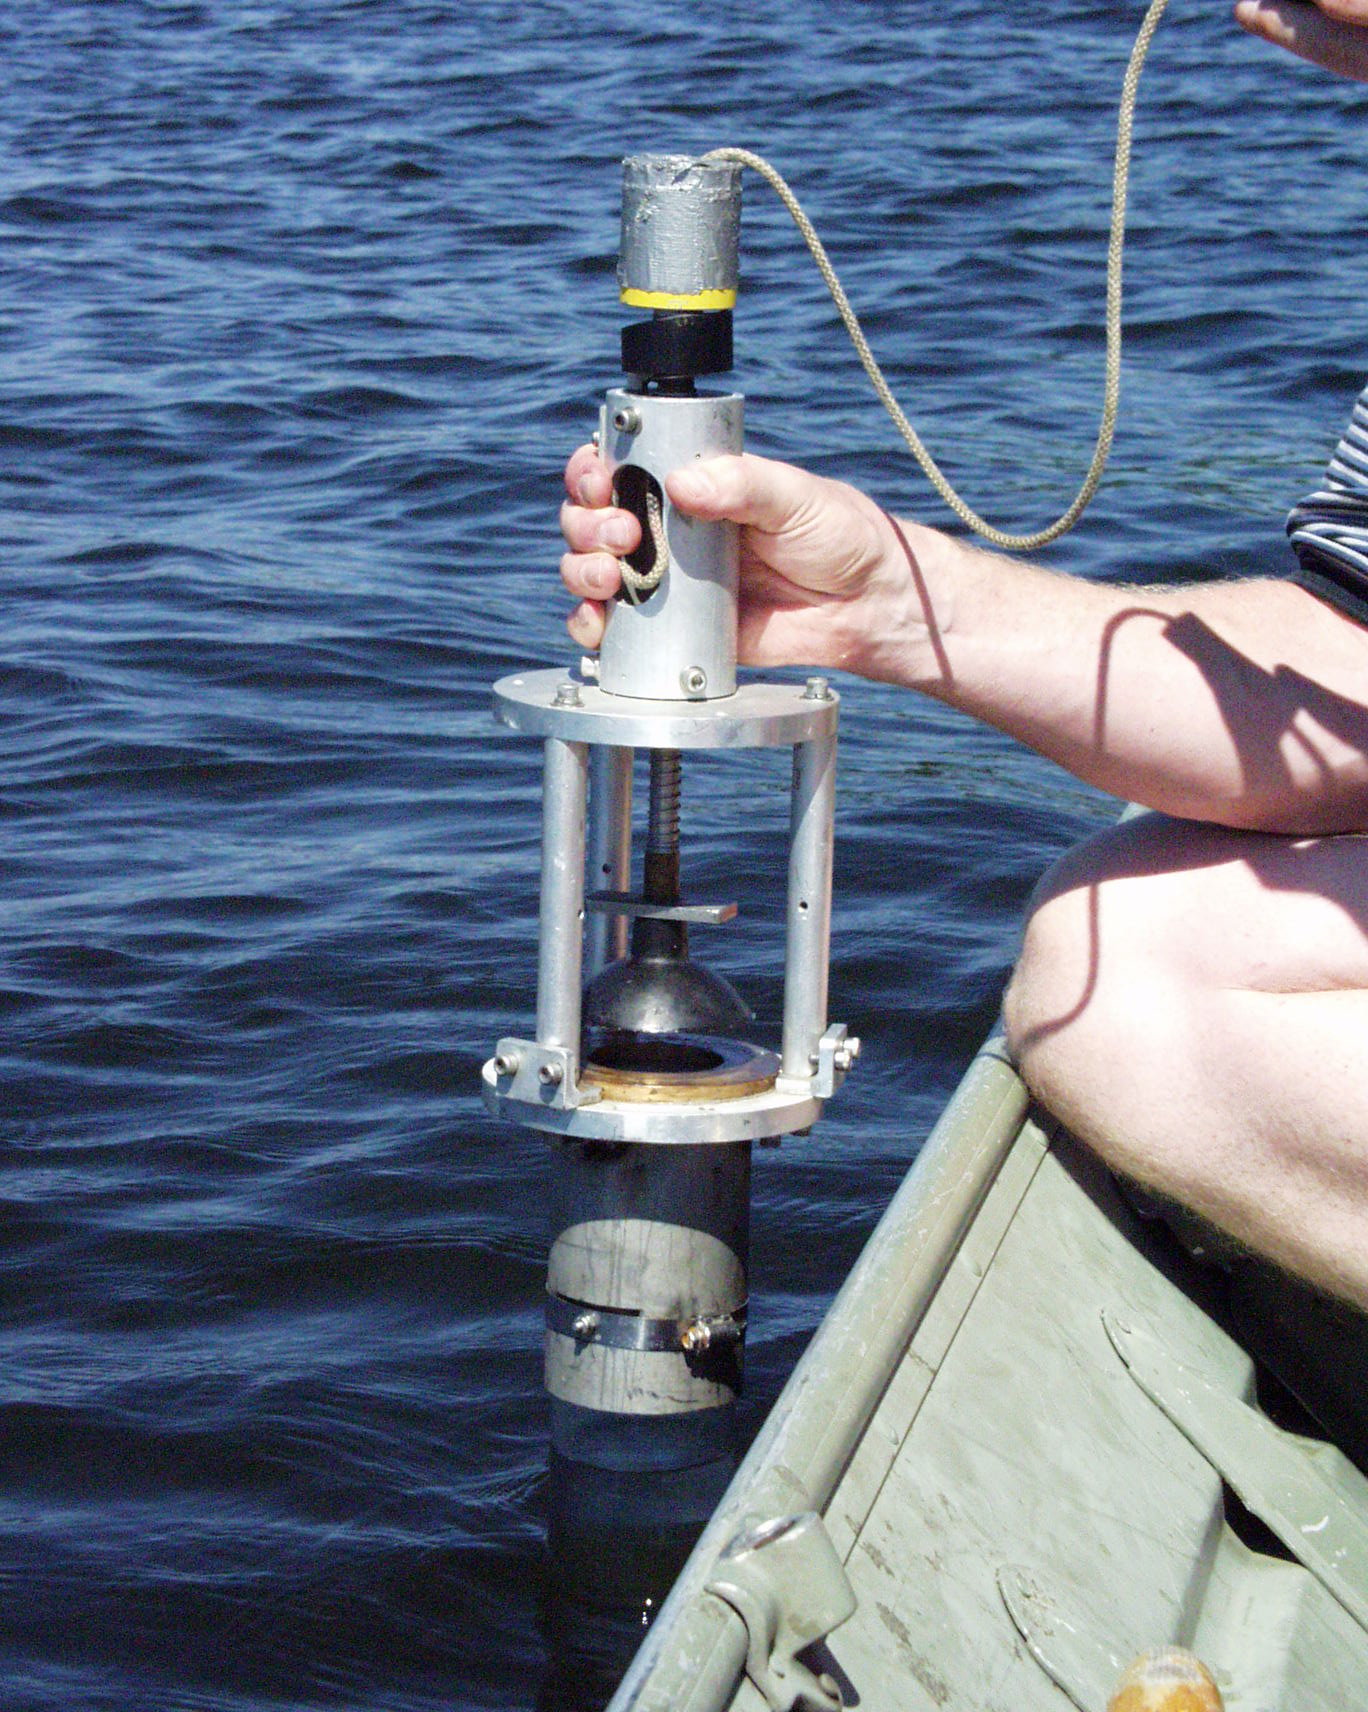
Step 2: Testing Corer and Lowering
Raise plunger of corer to "loaded" position. Test to see if corer is properly sealed by lowereing into water, triggering the corer, and lifting it to see if the tube is filled and holds water. (If water leaks out, re-check seals and Vaseline, and ensure hose clamp is tightened sufficiently around the core tube). Release water and re-set corer to "loaded" position.
Step 3: Retrieval of Corer
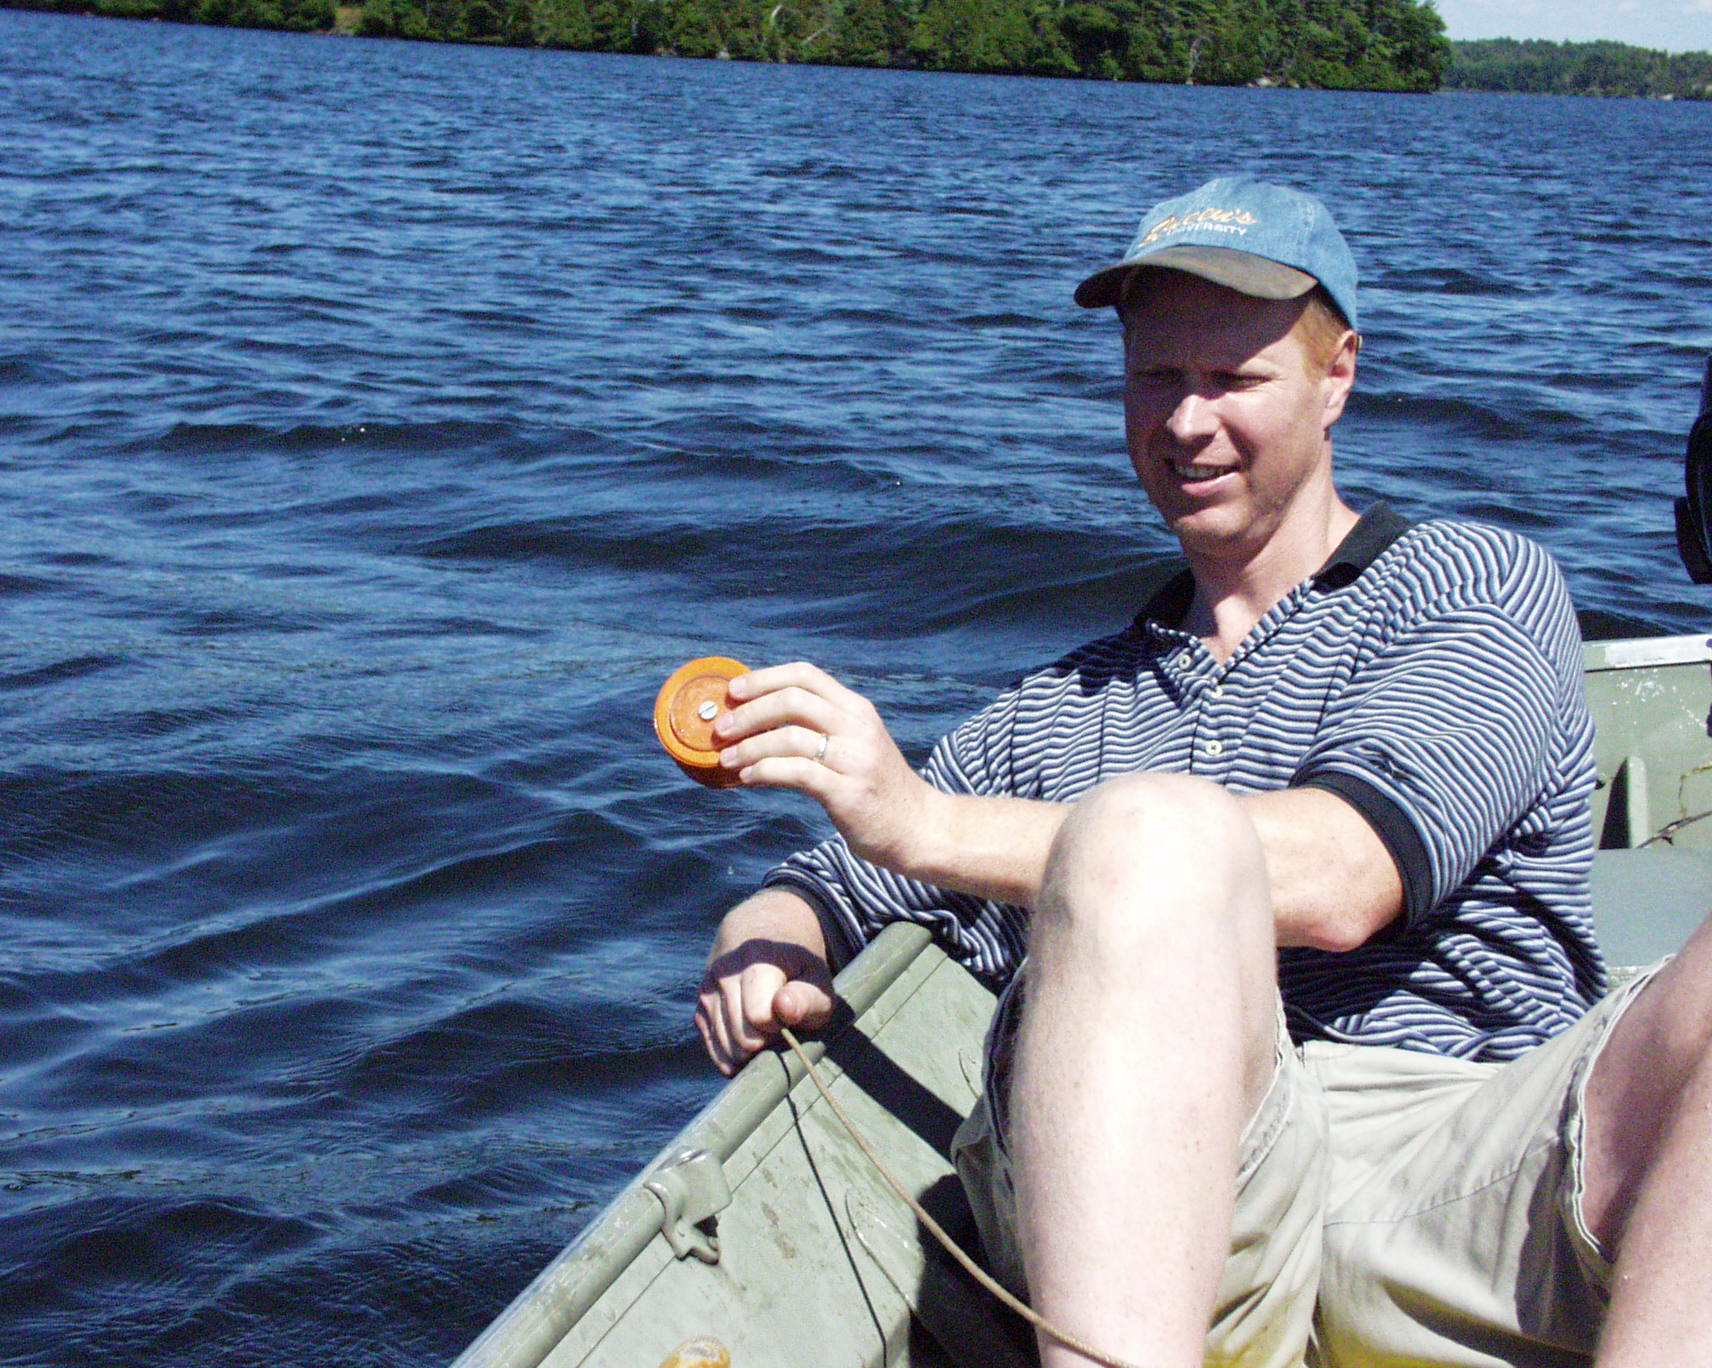
While core tube is submerged, insert core plug (black rubber or orange bung) to form a seal in bottom of corer.
Step 4: Retrieval of Corer (Continued)
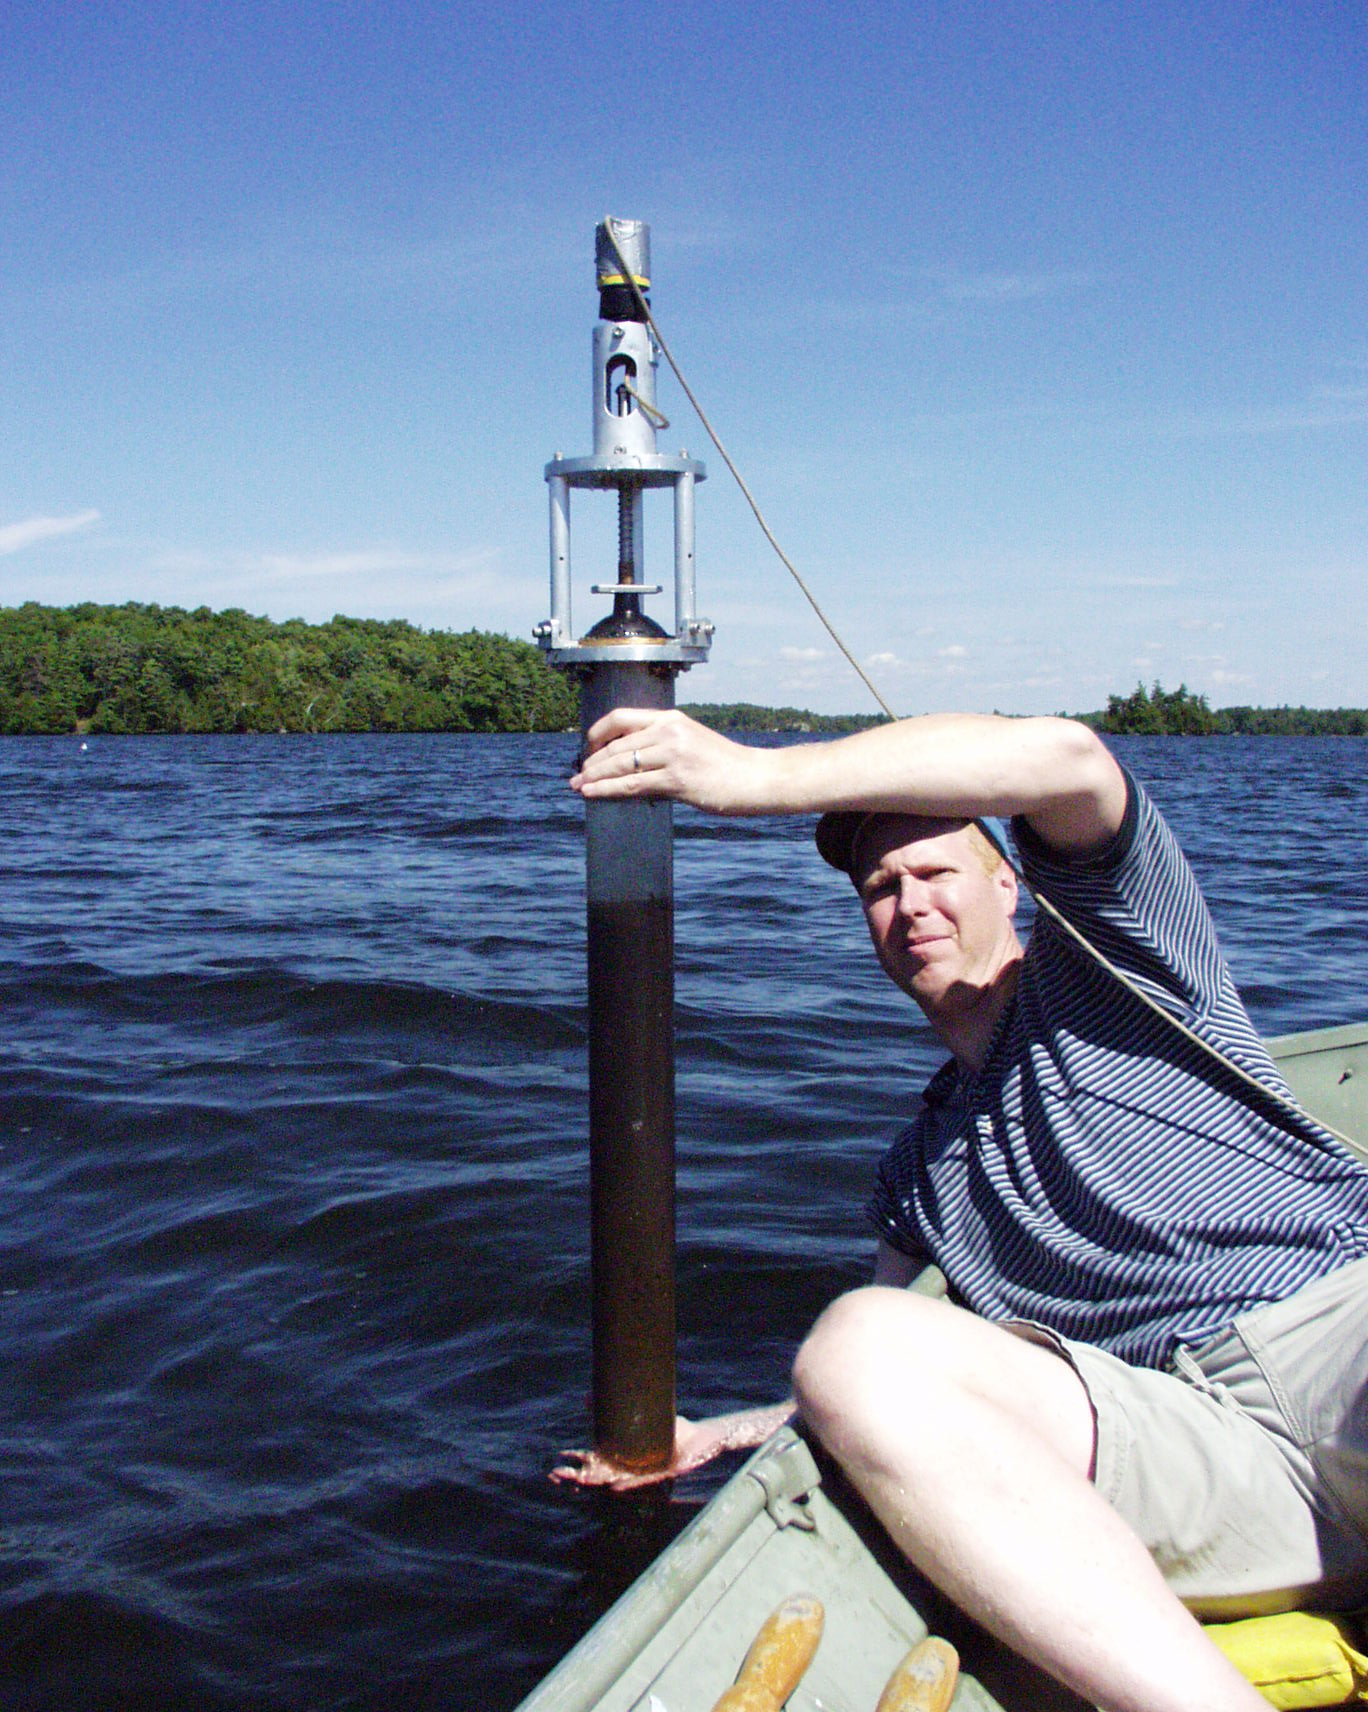
Holding bottom of core tube and plug to prevent plug from falling out (which would lead to lost sediment), lift corer slowly out of water.
Be careful not to disturb sediment-water interface.
Check for clarity of water directly above sediment surface and presence of chironomid tubes or algal mats (signs of a good sediment core).
Ensuring the core is secured, loosen hose clamp securing core tube to corer, and remove corer form core. Be careful not to disturb core.

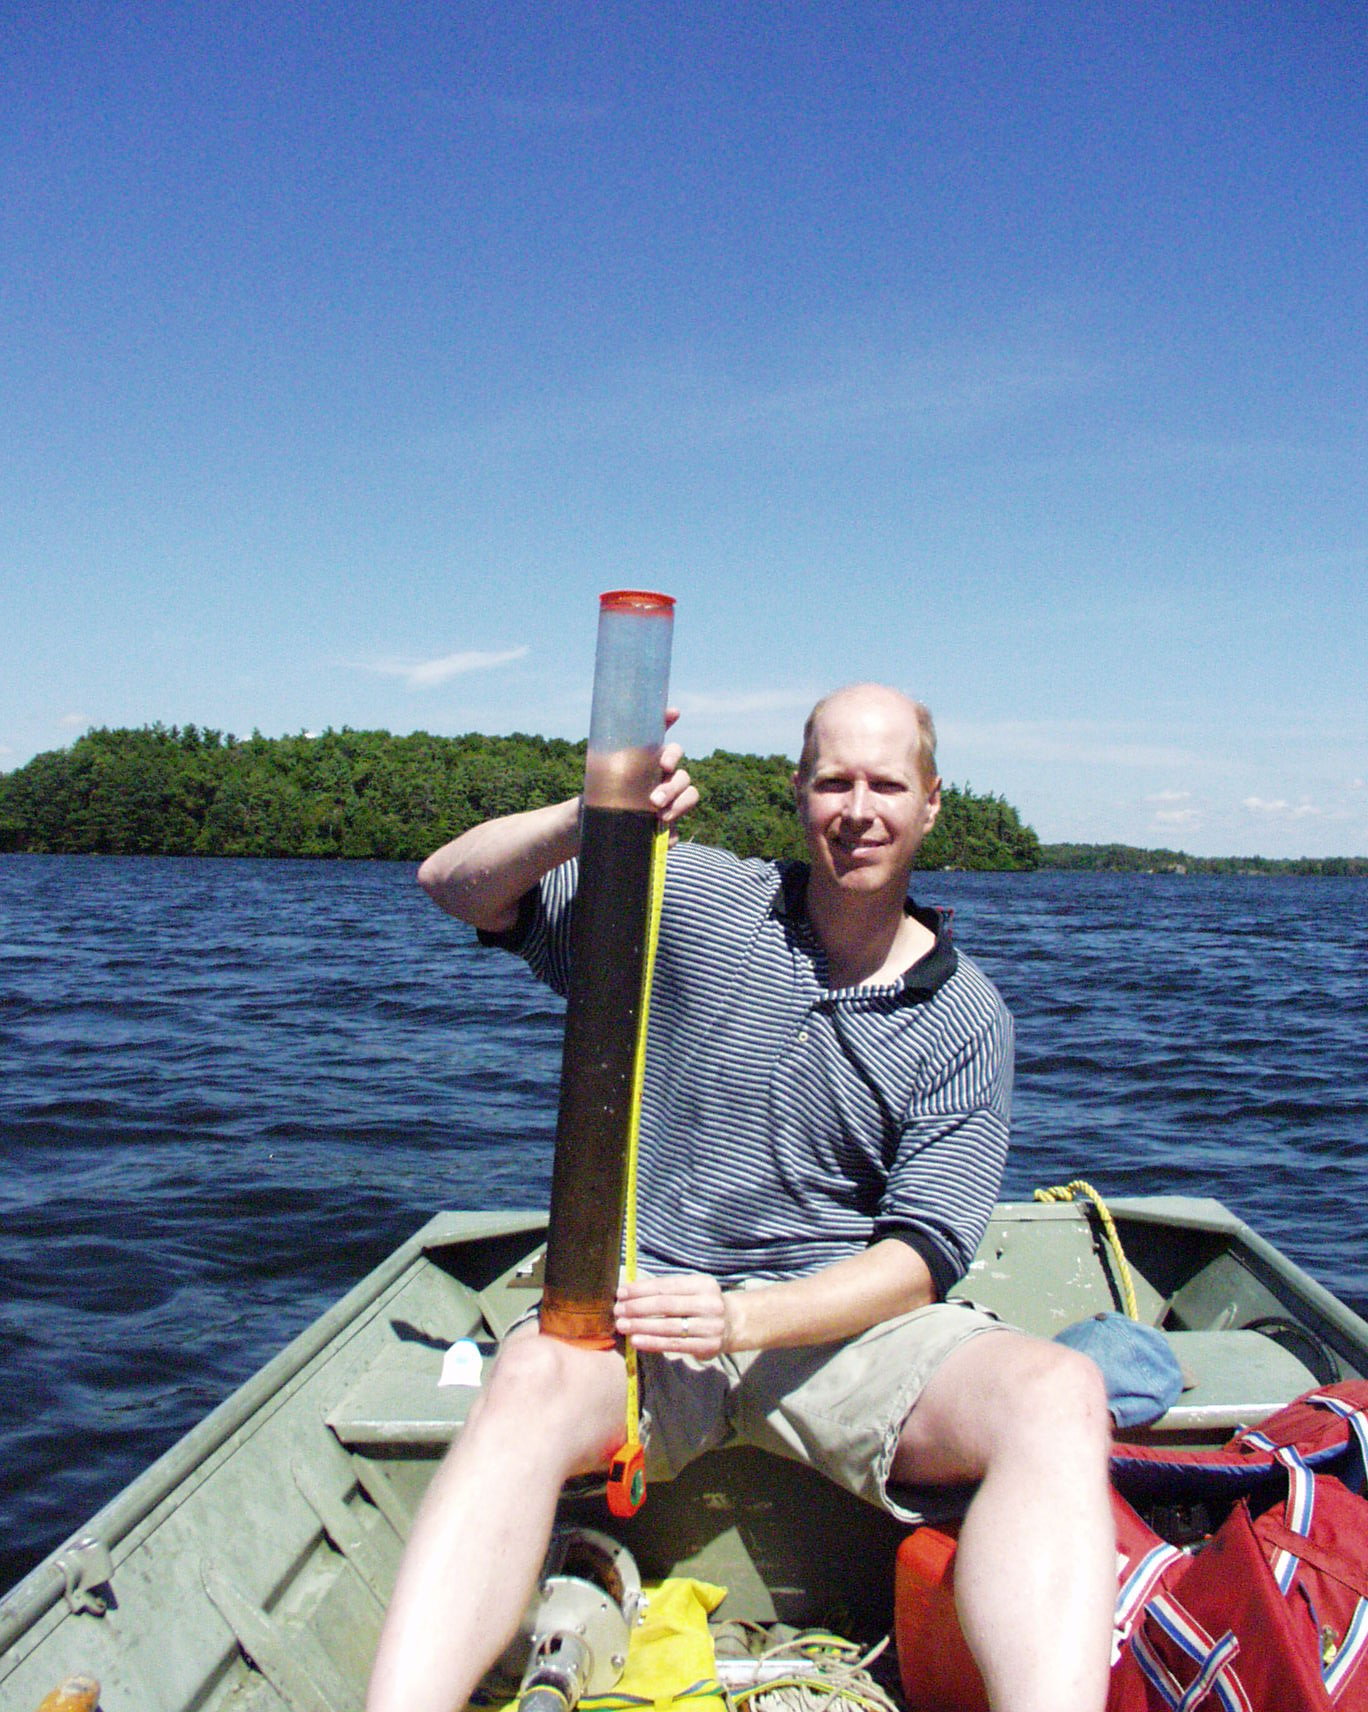
Add cap to top of core. Secure plug at bottom of core tube with electrical tape to prevent plug from accidentally slipping. Label core tube with masking tape and permanent ink. (lake name, core, top/bottom, date).
Place core in secure position in boat, ensuring core remains vertically upright. Take new cores back to shore.
NOTE: if multiple cores are being taken, a bucket with a lid with holes to hold cores vertically can be useful.
Wear a broad-brimmed hat and clothing that will protect from the sun. Not like the demonstrator above.
Reference:
Glew, J.R., Smol, J.P. and Last, W.M. 2001. Sediment core collection and extrusion. pp. 73-105. In: Last, W.M. and Smol, J.P. [Editors]. Tracking Environmental Change Using Lake Sediments. Vol 1: Basin Analysis, Coring, and Chronological Techniques. Kluwer Academic Publishers, Dordrecht.
|
|